Installing a heat pump is a complex task that often requires professional expertise. However, for those interested in understanding the process, the following is a general overview of the steps involved in installing a heat pump:
- Site Assessment:
- Evaluate the suitability of the location.
- Determine the heating and cooling needs of the property.
- Assess the existing ductwork if available and determine if any modifications are needed.
- Choose the Right Heat Pump:
- Based on the size and insulation properties of the home, choose a heat pump with the right capacity.
- Decide between different types: air-source, ground-source (geothermal), or water-source.
- Prepare the Installation Site:
- For ground-source systems, this involves excavating and preparing the ground for the loop system.
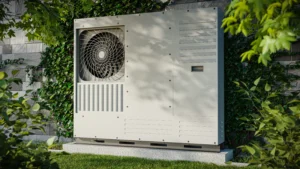
- For air-source systems, ensure a stable base (like a concrete slab) where the outdoor unit can be placed without obstruction.
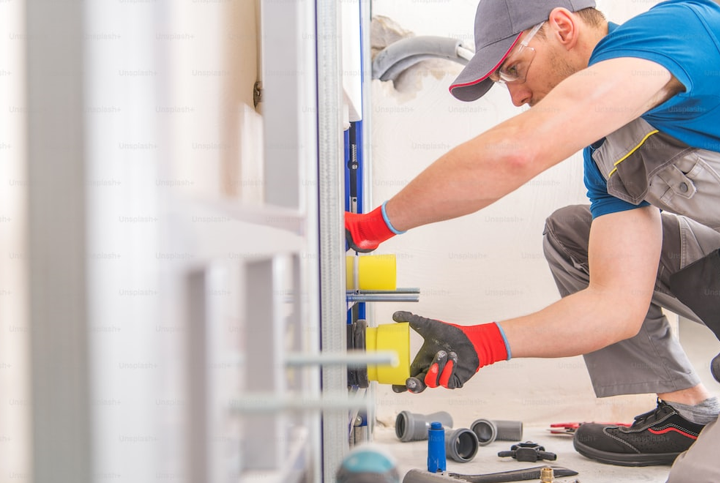
- Install the Indoor Unit:
- If using existing ductwork, connect the indoor unit to the ducts.
- If there’s no ductwork, install the air handler in an appropriate location (often wall-mounted for ductless mini-split systems).
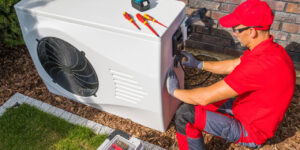
- Install the Outdoor Unit (for air-source heat pumps):
- Ensure it’s placed away from areas with high foot traffic and potential obstructions.
- Make sure there’s adequate airflow around the unit.
- Install Ground Loops (for ground-source heat pumps):
- Horizontal loops require trenches, while vertical loops require deep holes.
- Once loops are in place, they are filled/backfilled with a suitable medium.
- Connect Indoor and Outdoor Units:
- Run the necessary refrigerant lines, power lines, and communication cables between the units.
- Ensure that all connections are sealed and insulated to prevent energy loss.
- Connect Electrical Components:
- Wire the heat pump to your home’s electrical system.
- Ensure all connections are secure and adhere to local electrical codes.
- Fill or Charge with Refrigerant:
- Ensure the system is filled with the correct type and amount of refrigerant.
- Test for any leaks in the system.
- Test the System:
- After installation, power up the heat pump.
- Monitor its operation to ensure it’s heating and cooling correctly.
- Check for any unusual noises or malfunctions.
- Final Adjustments:
- Adjust the thermostat settings.
- Make sure all vents and registers are open and unobstructed.
- Provide Homeowner Guidance:
- If you’re the installer, ensure the homeowner understands basic operational procedures.
- Leave manuals and any warranty information with the homeowner.
Given the complexity of heat pump installation, especially for ground-source systems, hiring a professional is recommended. If done incorrectly, it can lead to inefficiencies, higher costs, and potential damage to the home or system. Proper installation ensures maximum efficiency, safety, and lifespan of the heat pump